

Introduction:
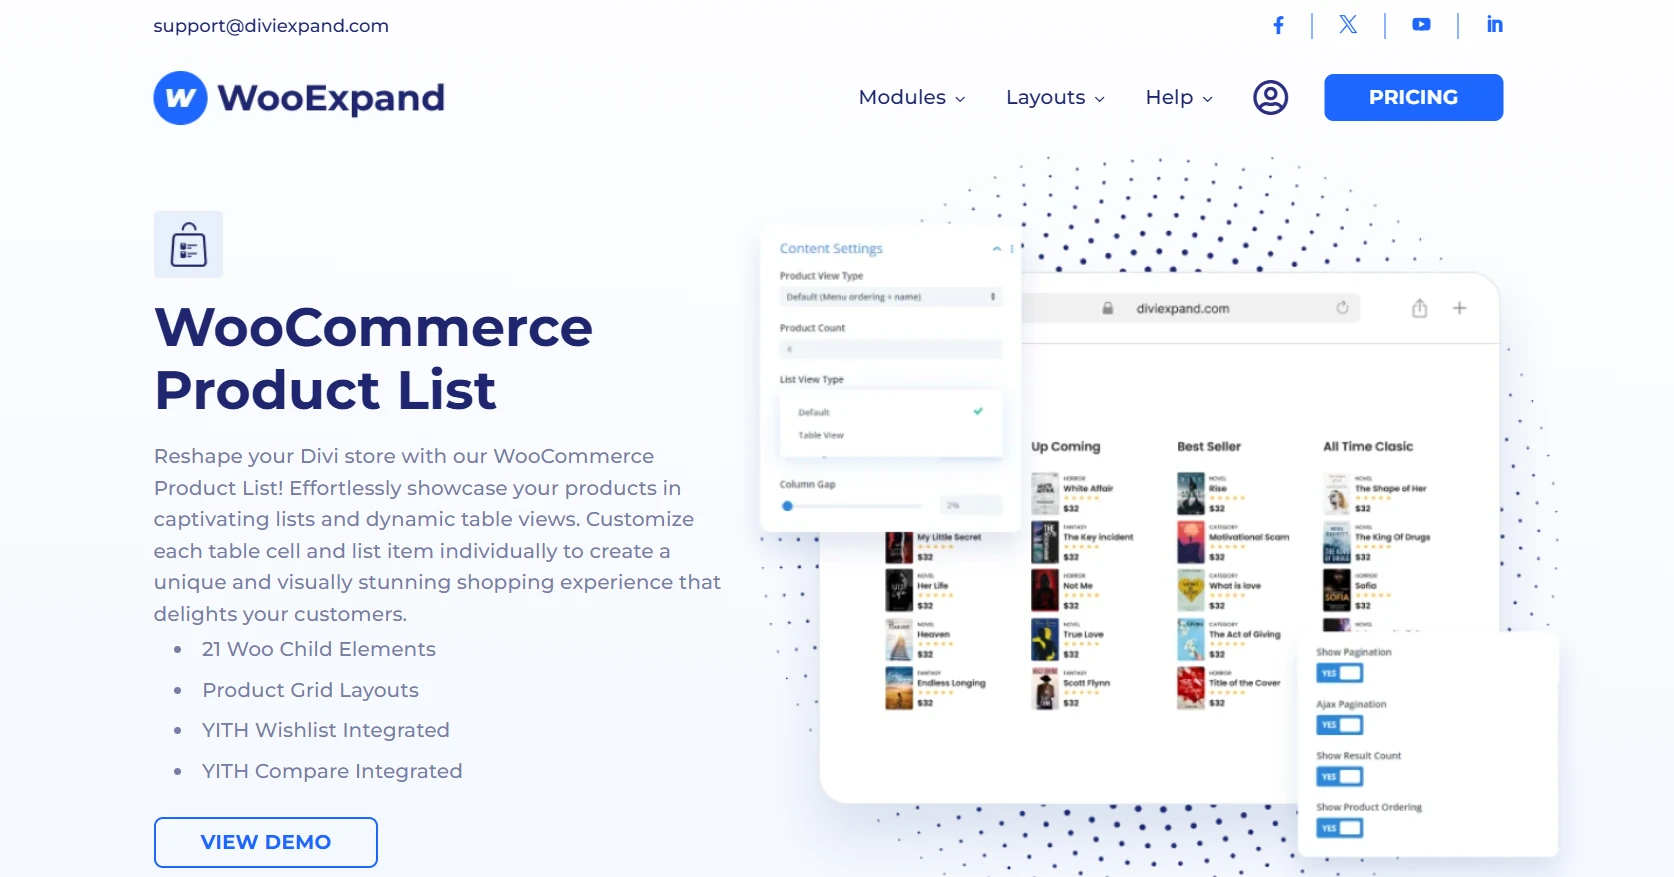
If you want a clean, minimal, and structured way to display products on your WooCommerce store, the Product List Module is the perfect choice. Product list layout allows for detailed product information and a focused shopping experience.
With WooExpand’s Product List Module, you can design these lists visually inside the Divi Builder with full customization.
Why Use a Product List in your Divi Store?
A product list layout is ideal for:
- Stores with products that need detailed descriptions
- Showcasing premium or featured products
- Improving user navigation in service-oriented or B2B shops
WooExpand’s Product List module
Unlike default WooCommerce lists, WooExpand:
- Works natively inside Divi Visual Builder
- Provides modular performance optimization
- Offers design flexibility for every element
- Comes with pre-made layouts for faster design
How to Use the Product List Module
Step 1 – Install & Activate WooExpand
- Get WooExpand from the pricing page
- Simply upload the plugin in your WordPress dashboard and activate it.
- Enter your Licence Key & enable modules.
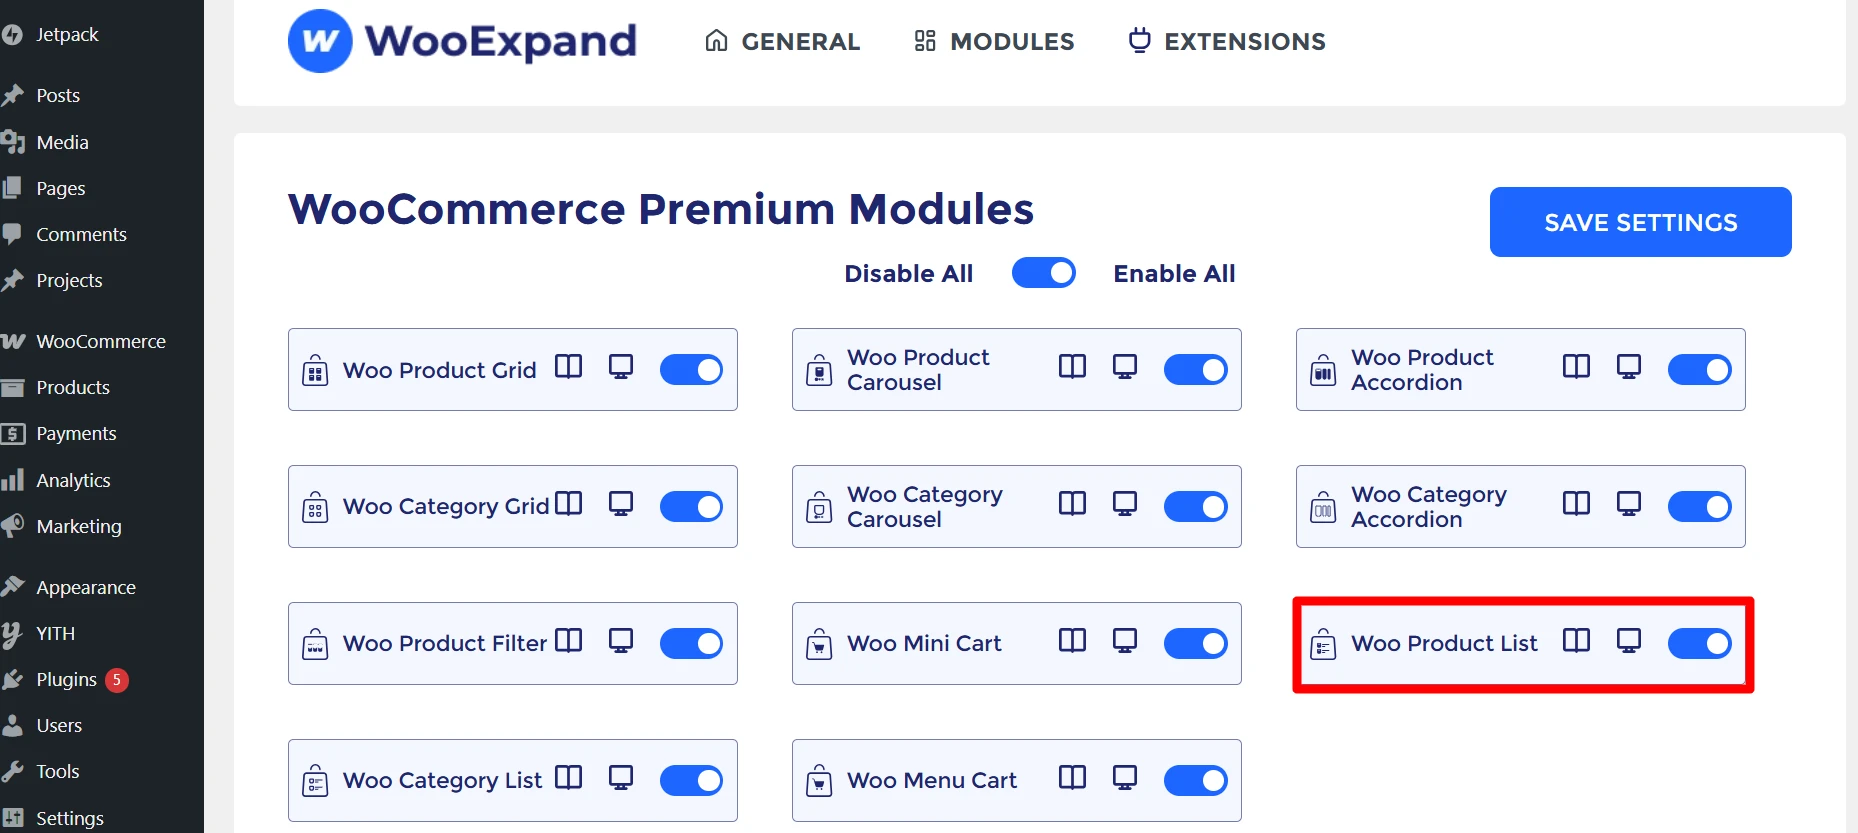
Step 2 – Activate the Product List Module
- Go to the dashboard of your WordPress
- Activate the Product List Module from the WooExpand settings.
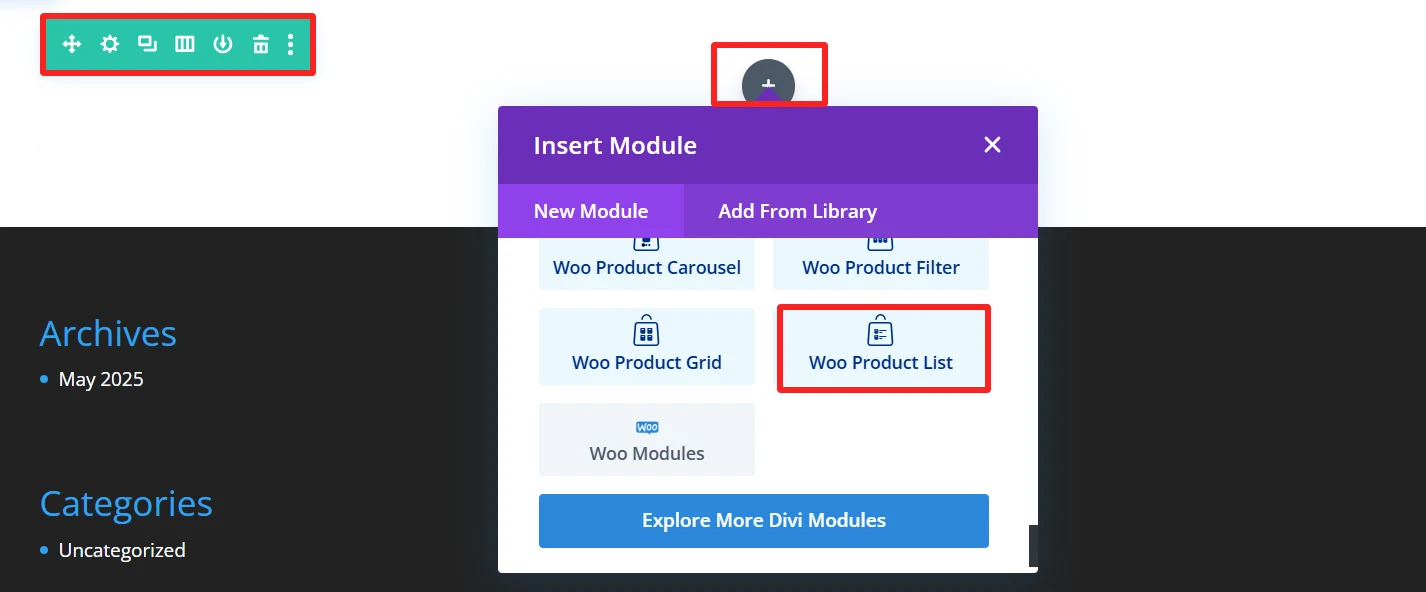
Step 3: Open the Divi Builder
- Create or edit a page
- Add a WooExpand Product List Module
Step 4: Configure Your List
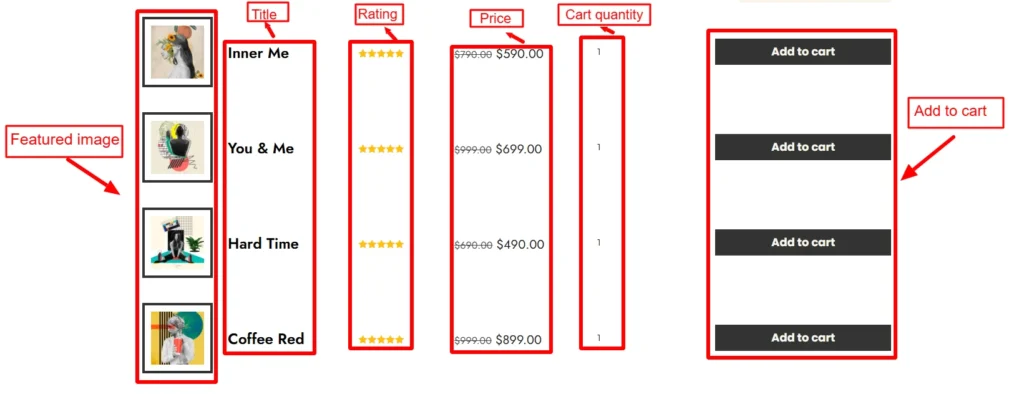
- Select Product Source: WooExpand has a total of 22 child elements for the product list module. You can select any of your preferred child elements from here.
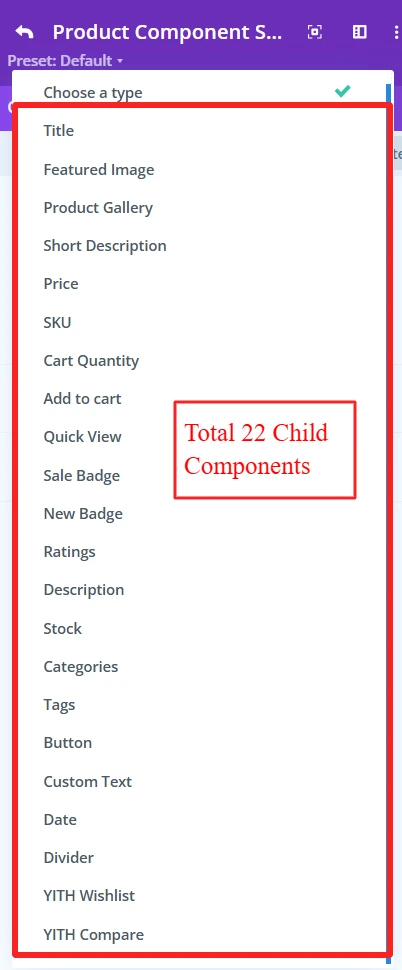
- You can add child elements using the + icon. As here, these six child elements are added to create a demo design.

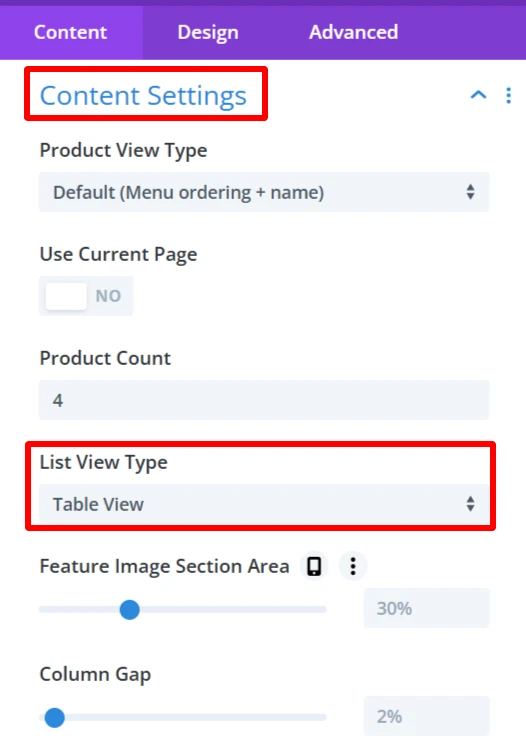
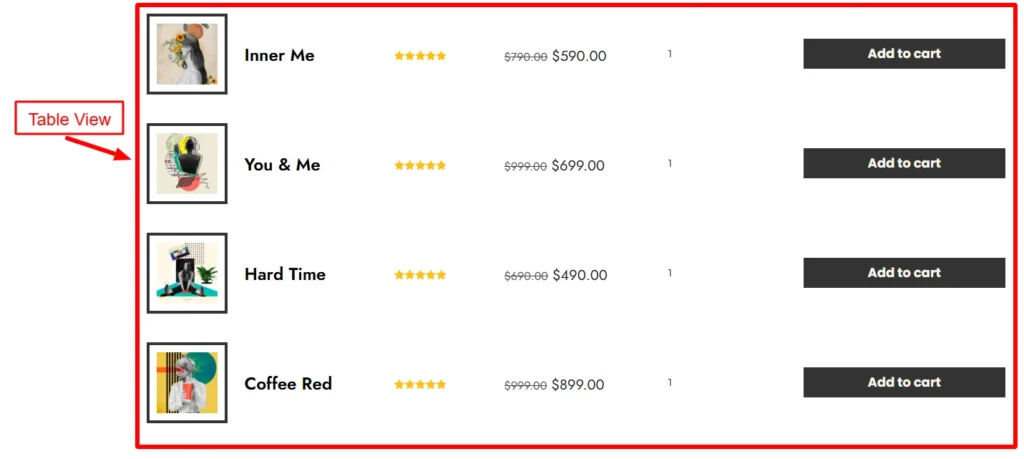
- From the Content Settings, you can set the product view type (you can show the latest product, or sale products, etc), number of visible products, list view type, as here the list view type is table view in the demo design, and many more options.
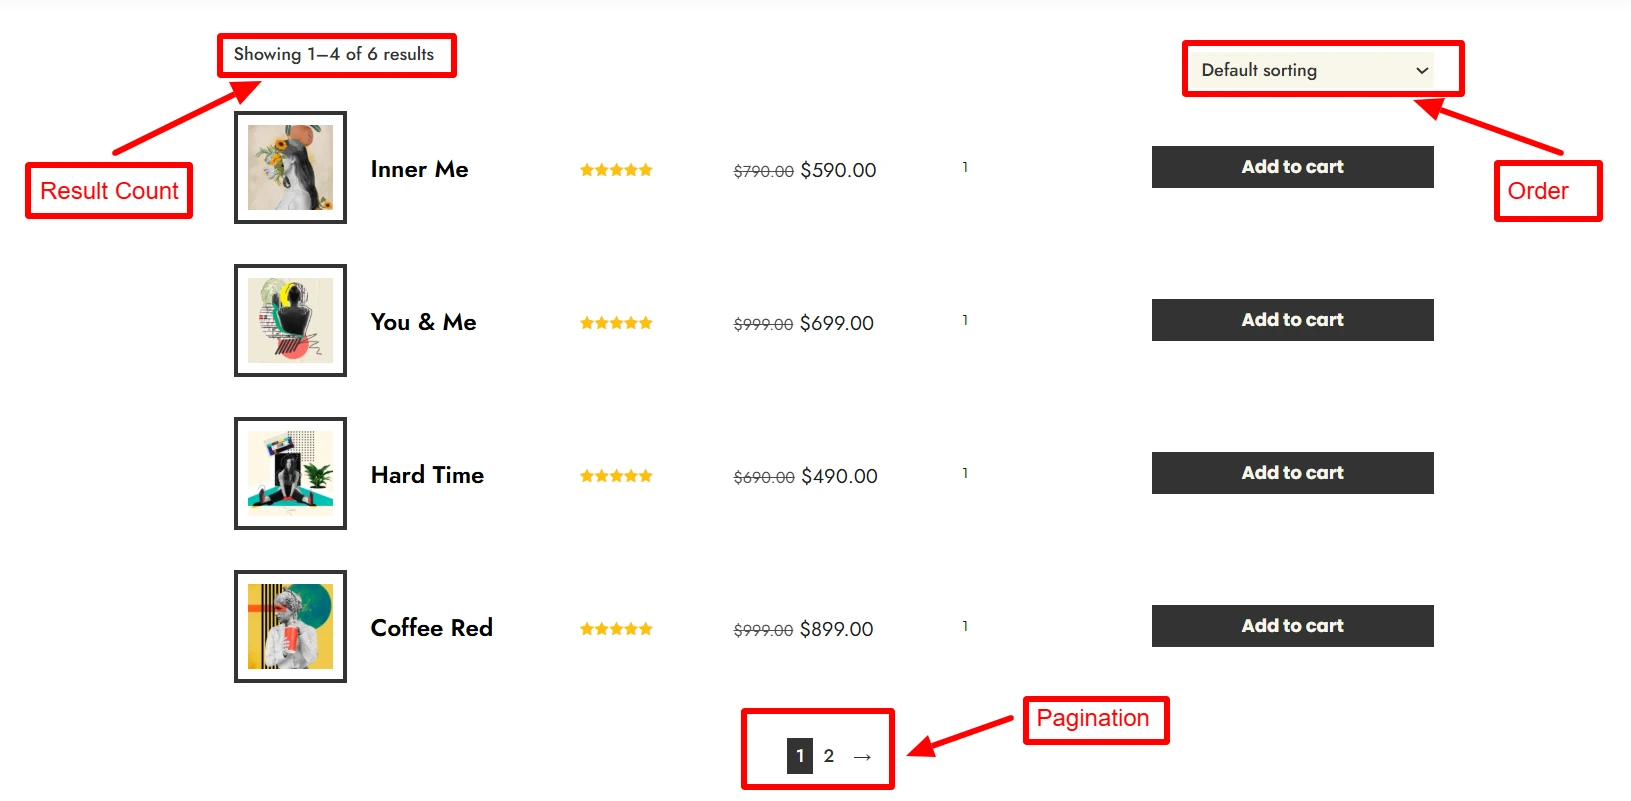
- Order enables products to be shown based on one of several criteria, like sort by rating, sort by popularity, etc.
- pagination spread products across several pages, allowing users to visit them via the page number.
- Result Count Shows the count of the products that fit in the list
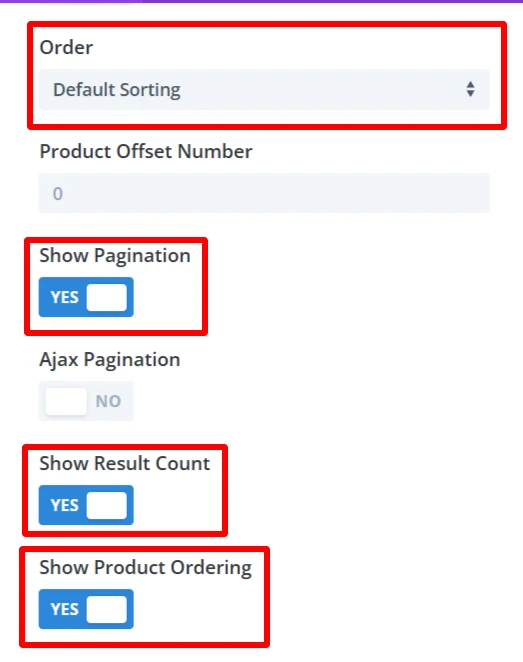
- Demo design for order, pagination, and result Count
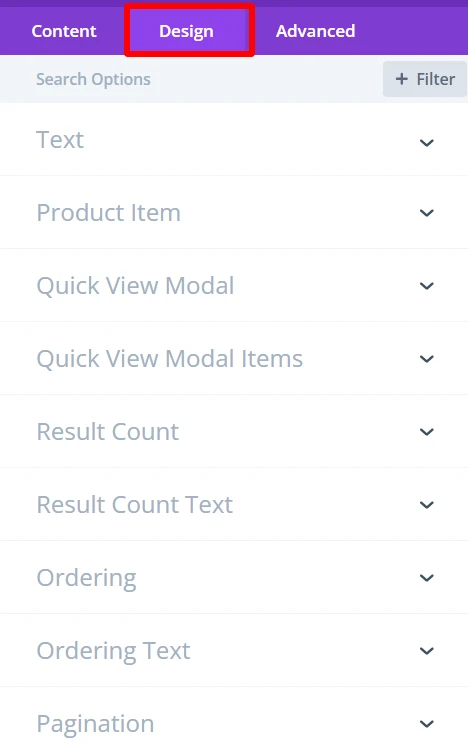
Step 5: Experience Design with Divi-Controls
- Easily change spacing, typography, colors, etc, from the design panel.
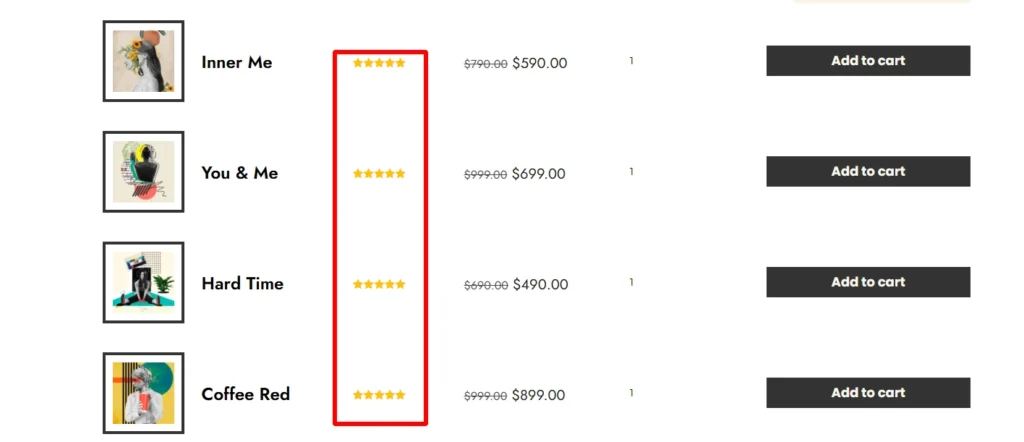
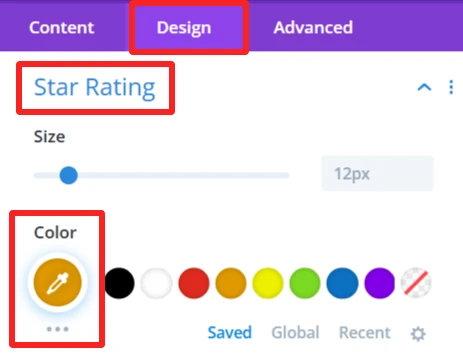
As you can see, the color of the ratings child component was changed using the design tab of this component.
For more information about these features, you can visit WooExpand’s documentation about Product List.
Step 6: Preview and Publish
- Preview the list desktop View and mobile View
- When you are satisfied with the design, publish your page and go live
Demo & Styling Inspiration
Do you want to see what it looks like before you try?
👉 View the Live Demo Here — Discover list variations.
Conclusion
The WooExpand Product List Module is perfect for creating structured, clean product pages without compromising on design or functionality. And with WooExpand, you can achieve this visually—no custom CSS or shortcodes needed.
- See Live Demo
- Get WooExpand Now — Lifetime License Available!


0 Comments