

A wishlist can be a powerful addition to your WooCommerce store. This allows customers to bookmark the products they love for purchase later, bringing a more customized shopping experience and encouraging customers to come back. In this blog, we’re going to show you how to install a wishlist plugin on your WooCommerce store and give a detailed step-by-step breakdown to make sure you follow along. Let’s dive in!
Download the Plugin:
There are two ways to install the plugin:
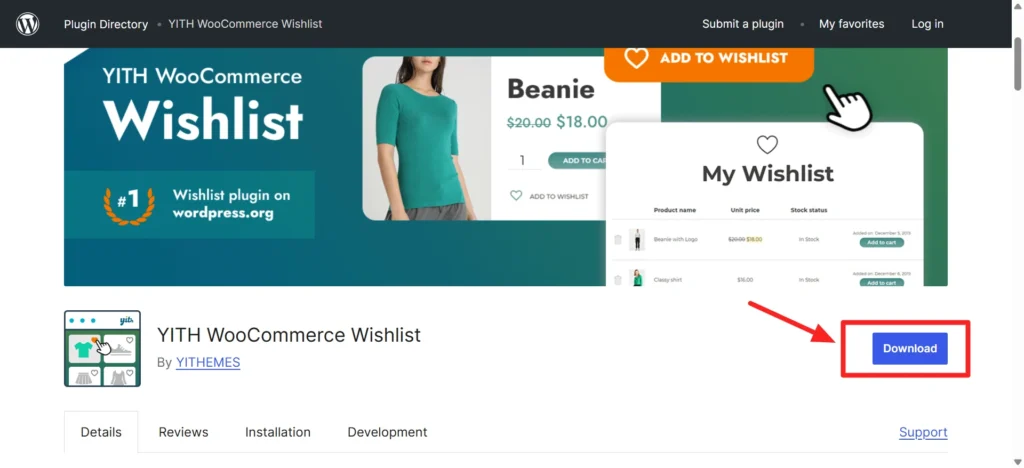
Option 1: Manual Download
- Visit the YITH WooCommerce Wishlist plugin page
- Download the ZIP file
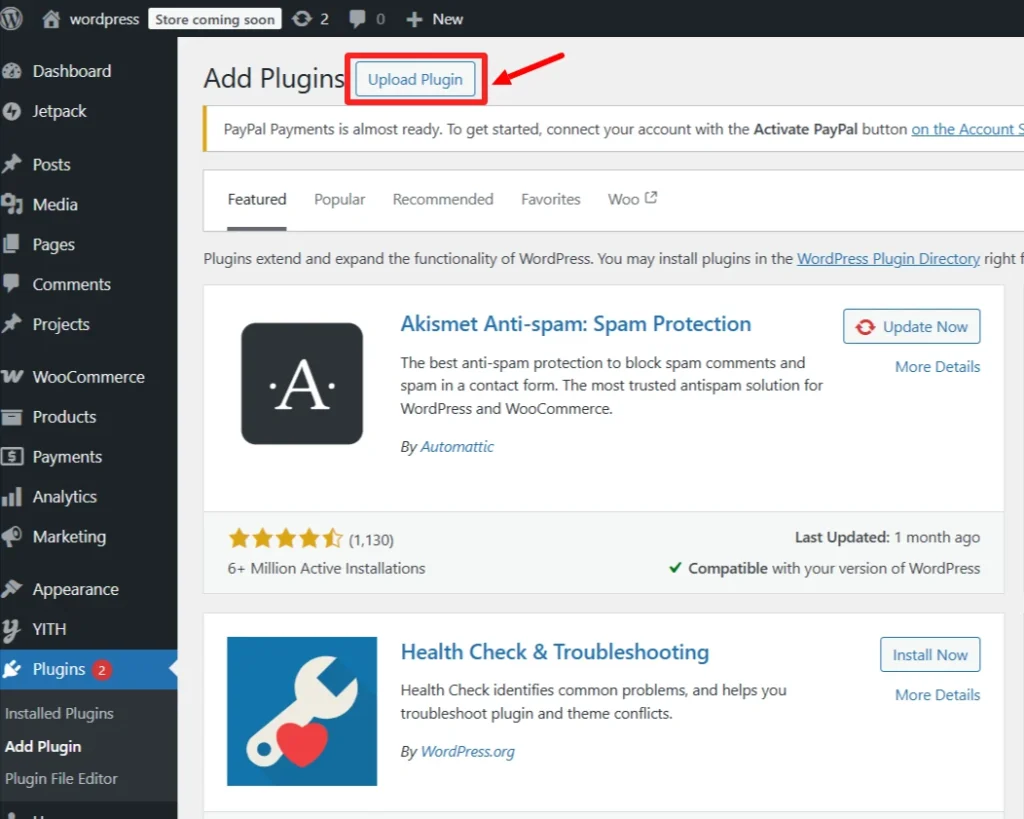
- In your WordPress Dashboard, go to Plugins > Add New > Upload Plugin
- Upload and install the ZIP
Option 2: Install from the WordPress plugin Directory
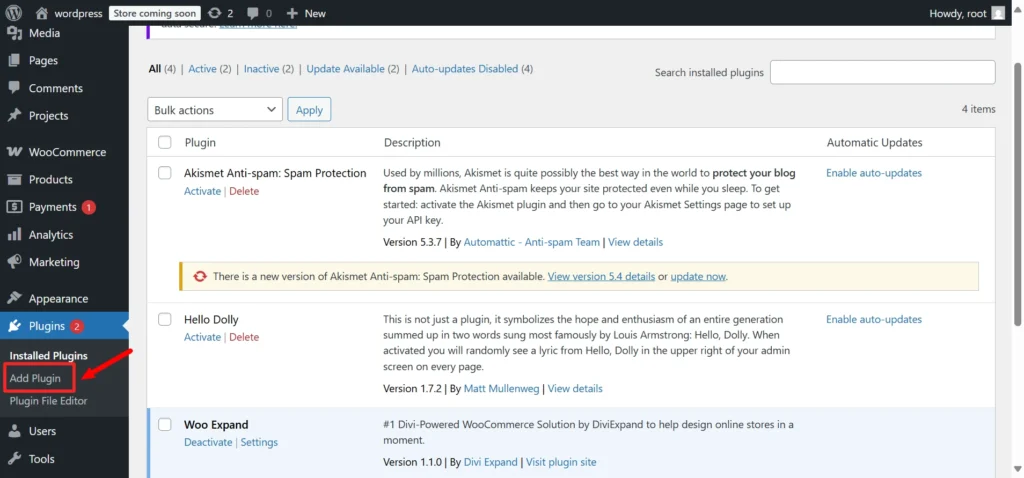
Step 1: Navigate to Plugins and then go to Add New
- 1. Login to your WordPress admin panel.
- 2. From the sidebar, go to Plugins > Add New.
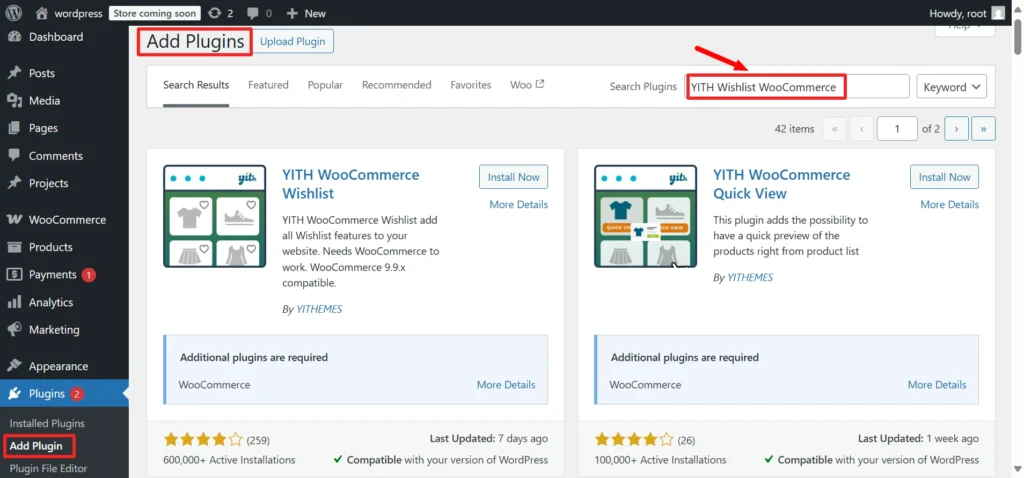
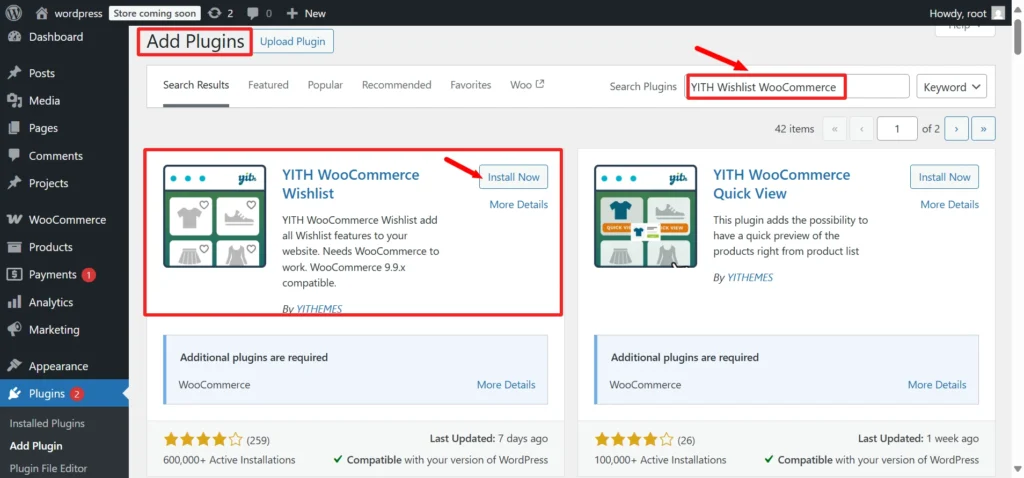
Step 2: Search for a Wishlist Plugin
- In the search bar (top right), type: YITH WooCommerce Wishlist.
- When the plugin shows, click Install Now
Step 3: Activate the Plugin
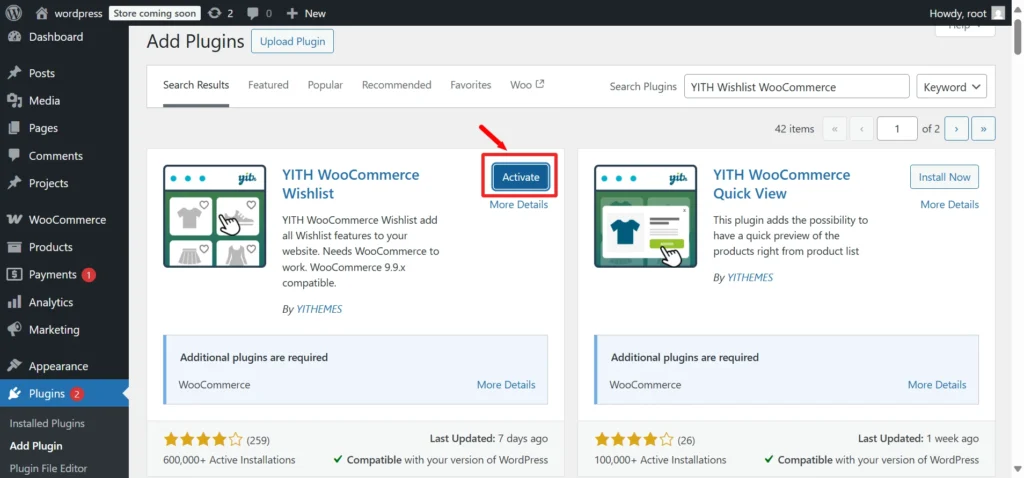
- Once installed, click Activate
- Now you’ll see a new option on your WordPress admin dashboard, on the sidebar named YITH section.
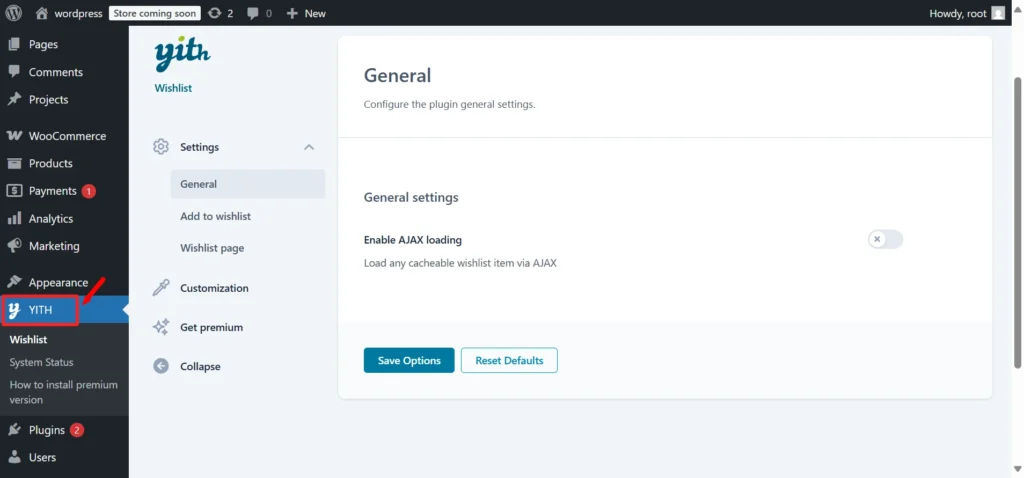
Step 4: Adjust the Wishlist Parameters
- Go to YITH > Wishlist from the admin dashboard.
- In the settings, choose:
- Where the wishlist button will be displayed on the Product Page / Category Page or both.
- Change the wishlist button (icon or text) design.
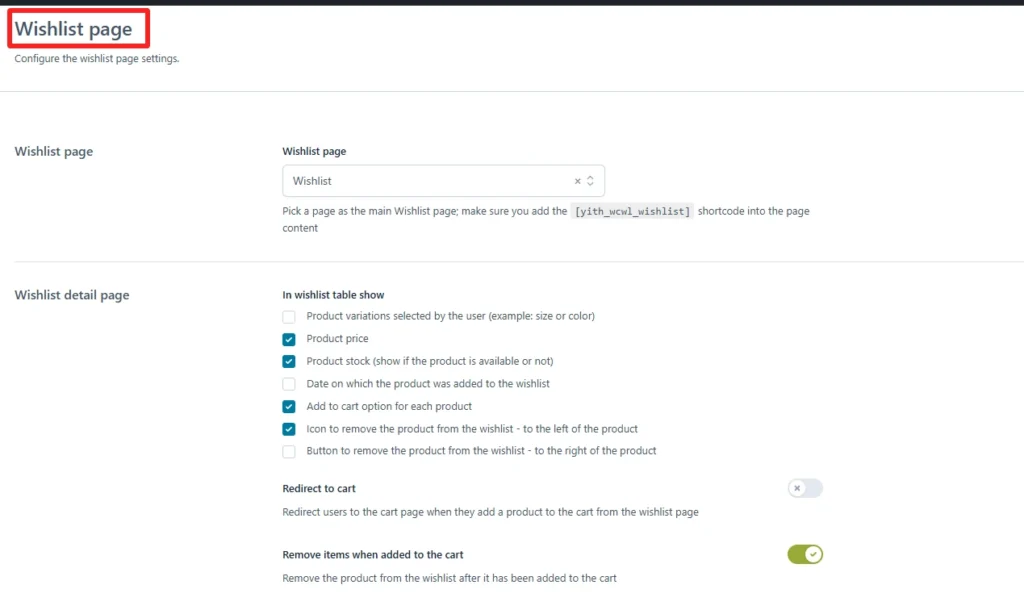
Step 5- Display the wishlist button on the product page.
- Visit a product page on your website
- If the button doesn’t appear, please make sure that you have enabled the display share button on product pages in your plugin settings.
Step 6: Closely Monitor and Tweak Wishlists
- Customers can add items to their wishlists,
- You can see and follow their activity directly in the frontend of your WordPress dashboard.
- Wishlist can also be shared, helping increase traffic
Bonus Tips for WooExpand Users
If you are using Wooexpand Product Modules components, we have two powerful integration for wishlist and product comparison:
- YITH Wishlist Component (WooExpand):
YITH Wishlist plugin must be installed as described above. Once installed, WooExpand will automatically expand its styling and controls.
- YITH Compare Component (WooExpand):
If you also need to create a compare feature, install the YITH Compare plugin. For further information on the installation and setup of the compare plugin, you can refer to our installation guide for the Compare plugin.
Why Use YITH Wishlist with WooExpand?
With WooExpand’s Supreme’s flexible design on top of YITH’s powerful wishlist engine, you’re able to:
- Keep functionality native to Divi
- Style wishlist buttons & interactions right within the Divi Builder
- Create a uniform shopping experience in all modules
Conclusion
And that’s it! By following the above steps, you can now have Wishlist for your store using WooCommerce. Not only does this increase user addiction, this boosts the amount of sales and customer loyalty by prompting returning users to make new purchases from their saved wishlists. Your customers can now save and share their wishlists, giving them a way to save products for later and share with their partner, manager, friends, etc. This little enhancement can make a big difference over time.


0 Comments